

Juicy Pork Chop with Roasted Veggies
In 2015, I started a project to learn more about making fermented vegetables and was fascinated by the health benefits and importance of consuming fermented foods. I read books, joined a local annual event called Fermentation Festival hosted by Boston Ferments, a local non-profit organization that connects and educates people through fermentation. I connected with scientists, authors, and other fermentation experts, and learned so much about how consuming this type of foods can heal the gut and improve your overall health. I also learned that bacteria are not all evil. Some of them are crucial for our human body and perform life-sustaining tasks.
In this post, I want to show you how easy it is to make fermented vegetables and what the guidelines are.
Simply put, you need to pay attention to these four things: ingredients, the amount of salt, an anaerobic environment, and the proper temperature.
The only two ingredients you need are salt and red cabbage. You don’t even need to add water, as massaging the salt and cabbage together for a certain amount of time will produce its own brine (a salt solution).


My method of making fermented vegetables is inspired by Kirsten Shockey and Christopher Shockey, co-authors of the book Fermented Vegetables (one of my favorite books on the topic). One advice I follow is that the salt you need usually weighs about 1.5-3% of the weight of the vegetables. As a reference, if you want to ferment a pound of cabbage with 1.5% of the salt content, you will need about 1.3 teaspoons of salt. It’s not recommended that the salt content exceeds 10%, as it may inhibit fermentation process.

For this experiment, I use 1.5 teaspoons of salt for half a pound of red cabbage (this contains about 3% of the salt content). You may need some patience while massaging the mix of salt and cabbage. In my own experiment, it took me at least ten minutes before I saw very little cabbage juice just start to form; if you want the brine to form more quickly, consider adding a little bit more salt (like half a teaspoon).


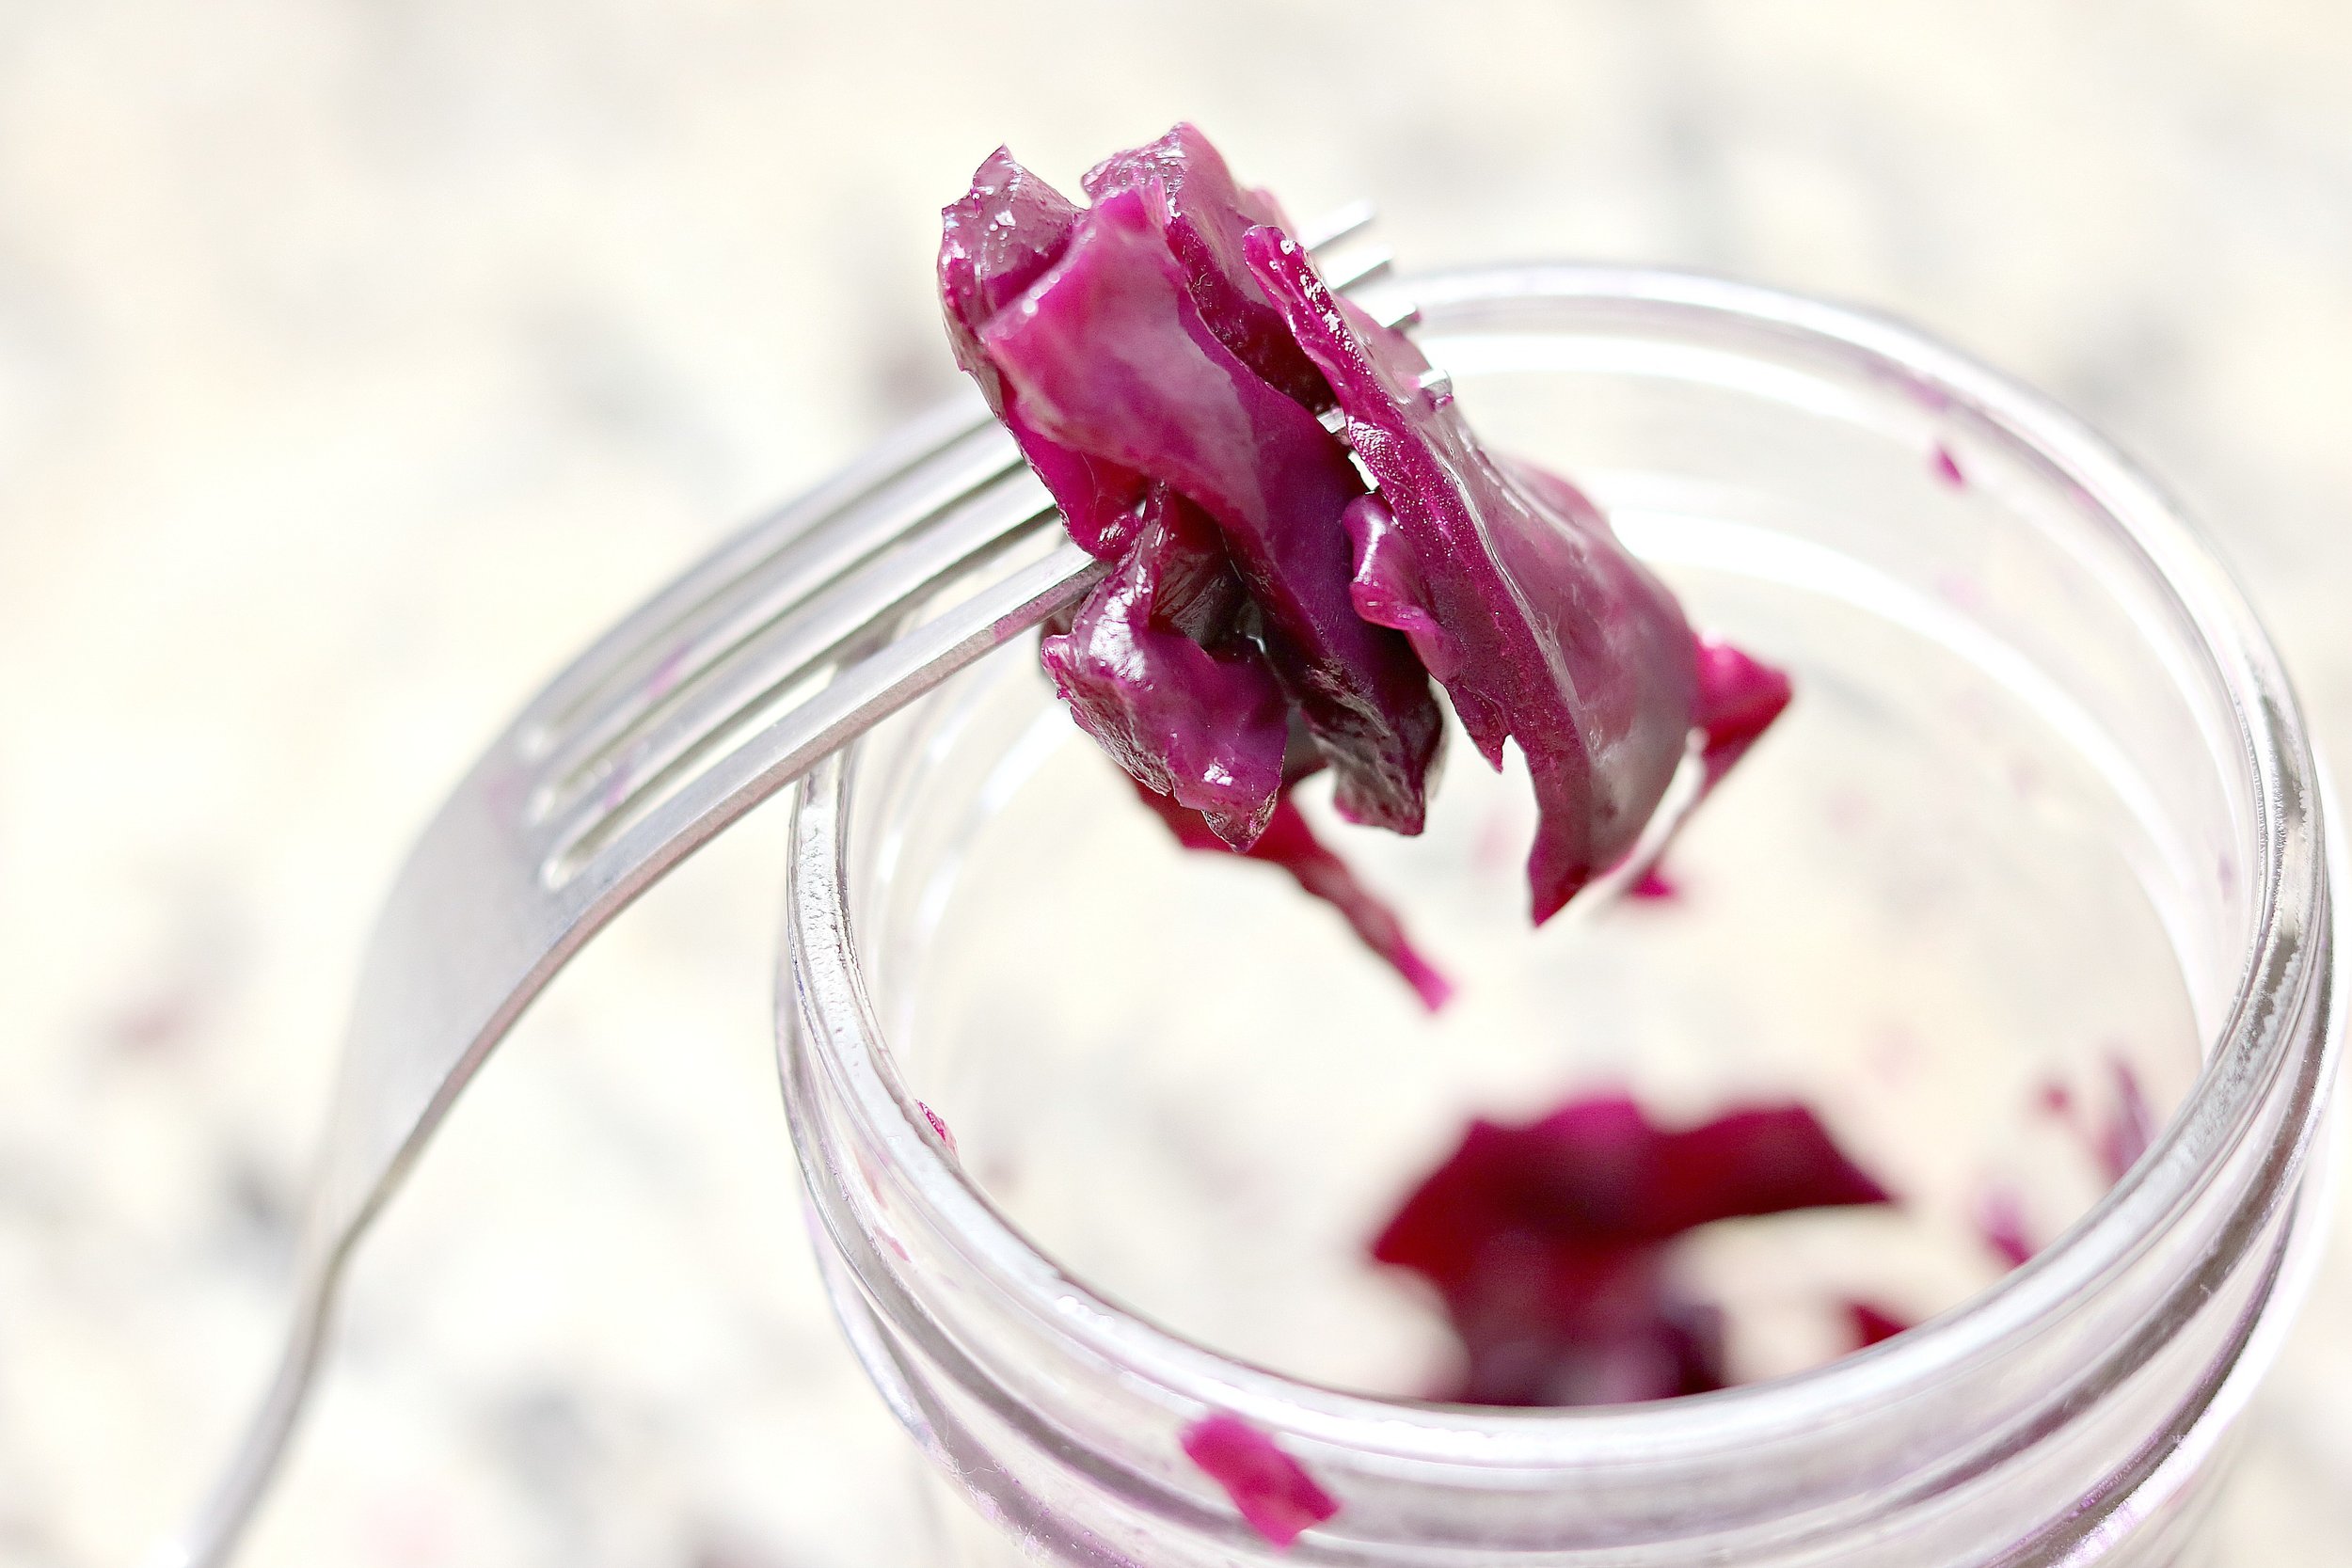
The golden rule to follow is that you should keep the vegetables submerged in the brine to create an anaerobic environment to allow fermentation to happen.
After stuffing vegetables into a jar, I would squeeze in one or two pieces of cabbage leaves, which are slightly larger than the lid of the jar. They are called “followers”, and their job is to keep the vegetables totally submerged.

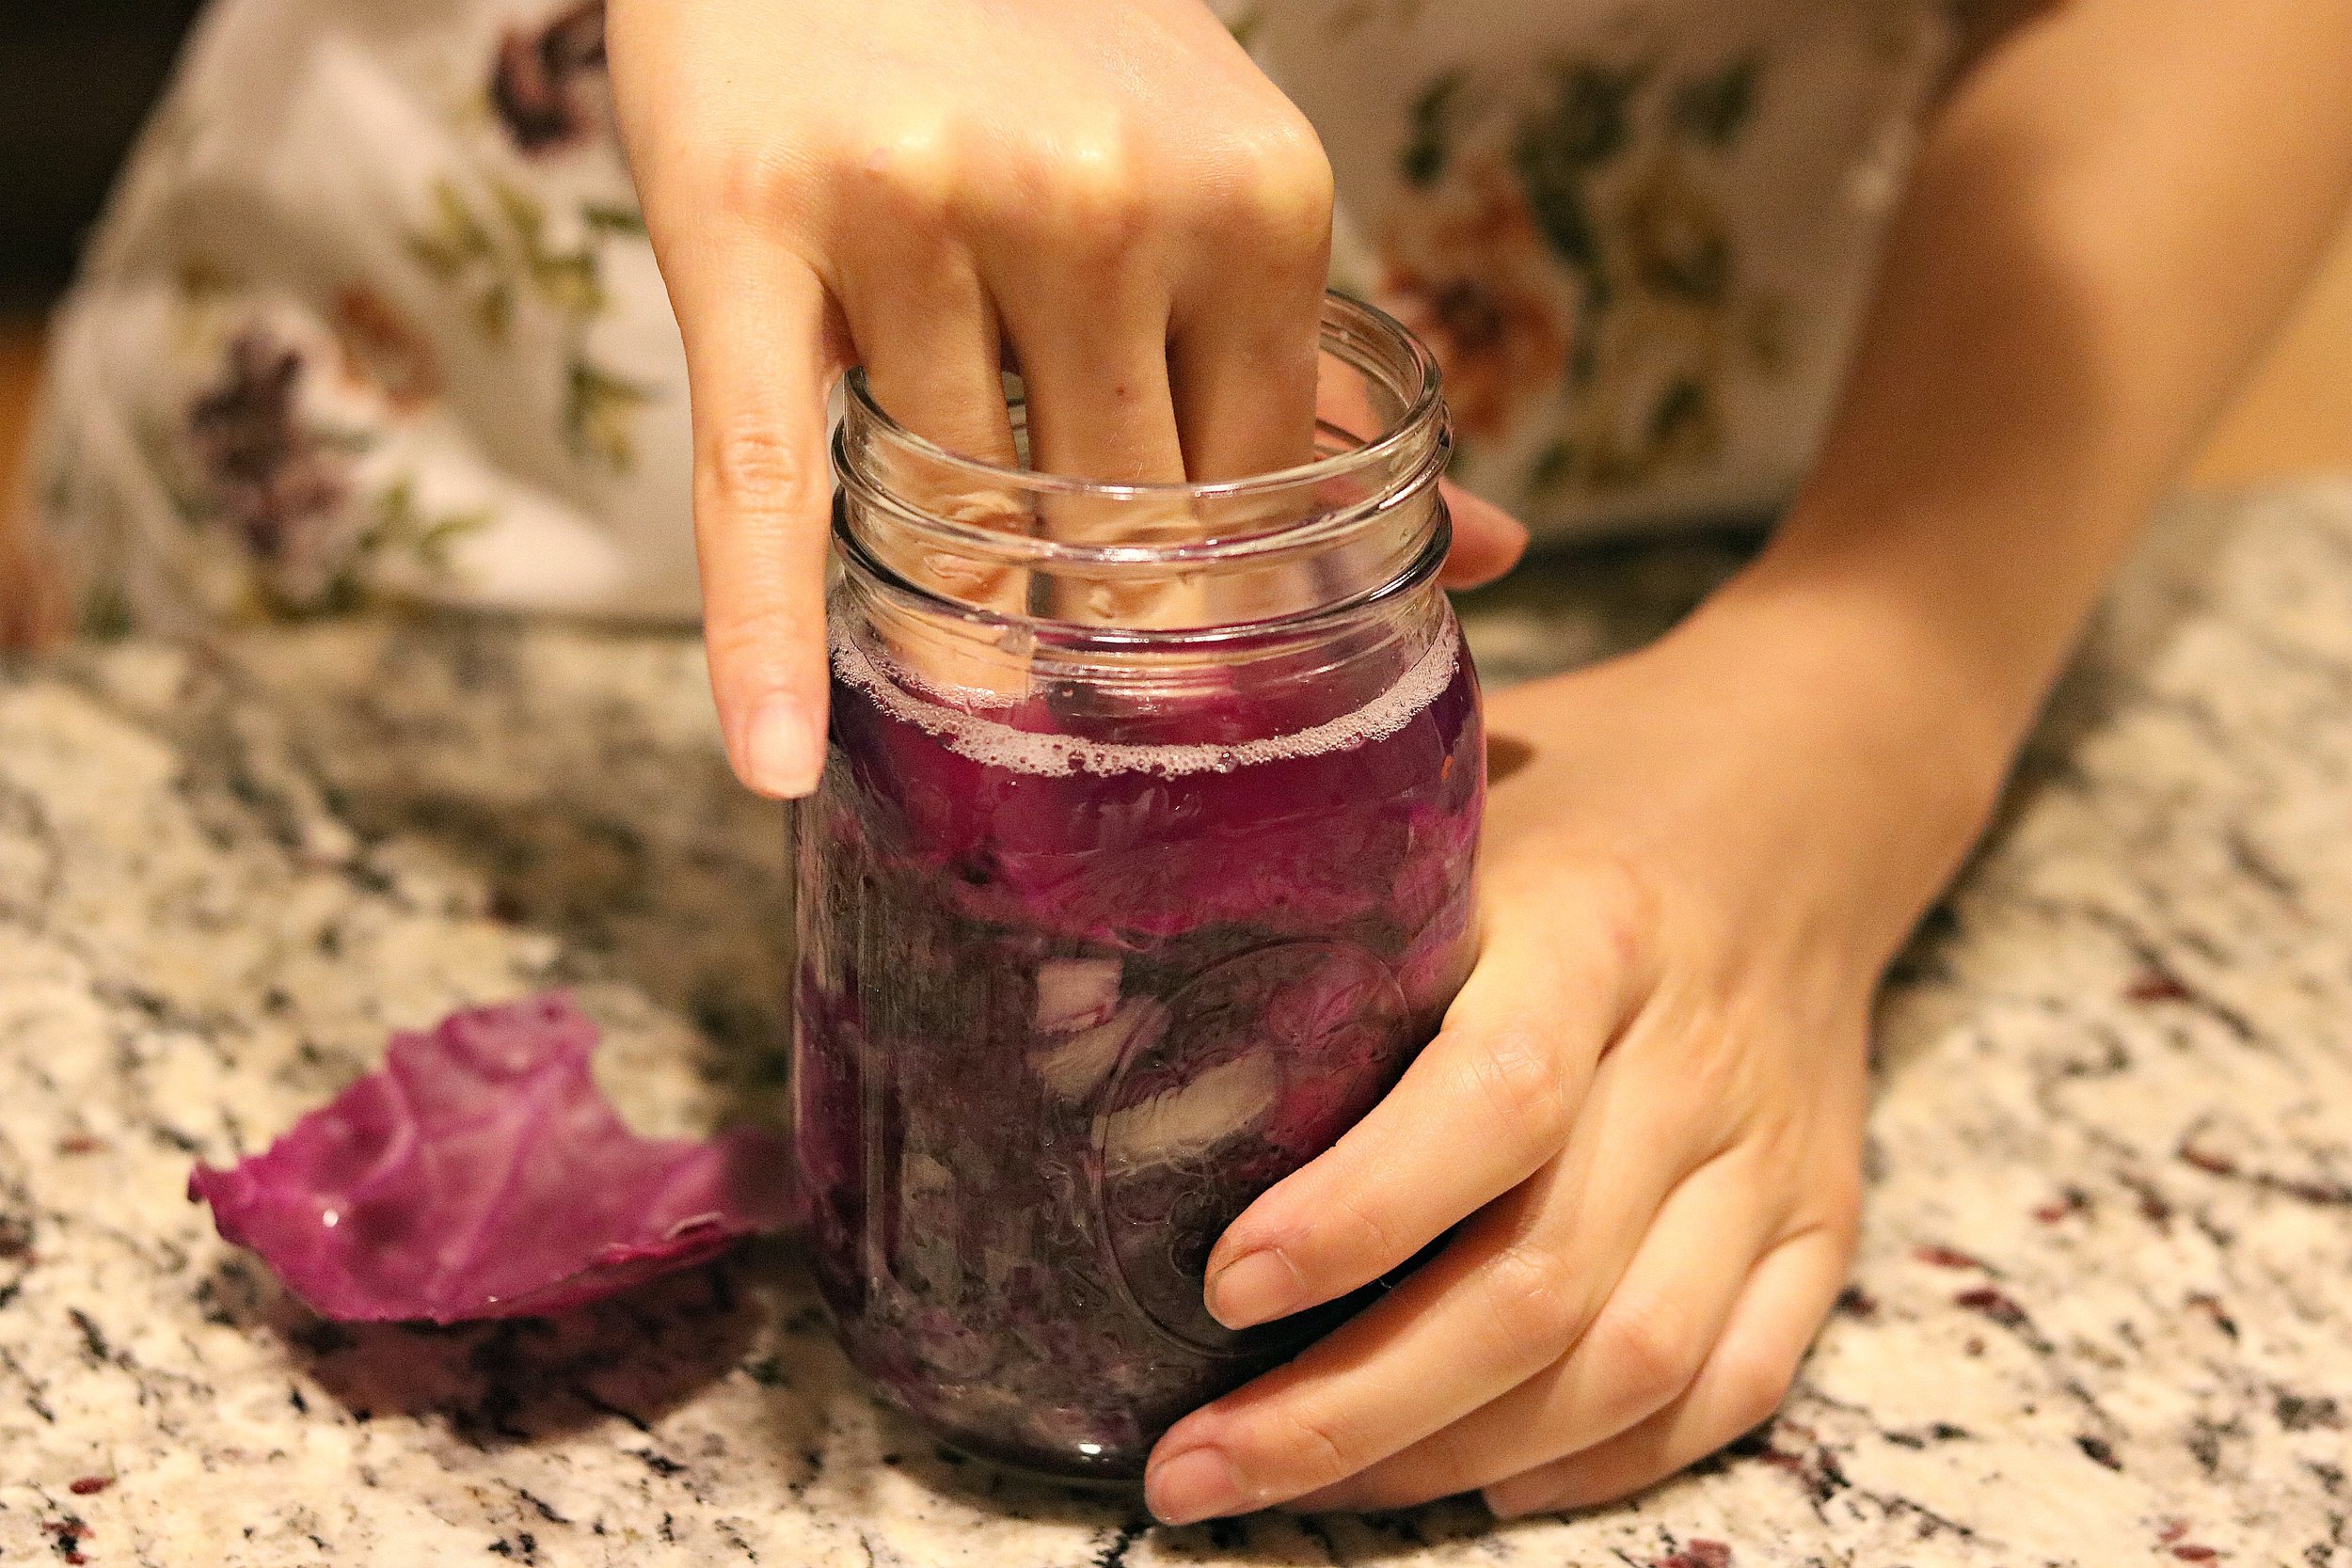
Also, remember to leave one to two inches of space between the top of the brine and the rim of the jar. The fermentation process generates carbon dioxide, which will cause the cabbage leaves to expand.

Next, add a lid on the top of the jar and seal the jar until the lid just stops turning. In other words, do not seal the jar too tight. This will allow the carbon dioxide to escape.
When all is done, I would recommend you place the jar on the top of a plate or baking sheet in case of brine leak.
Ideal temperatures range from 50 °F to 75 °F. If, in the summer, the temperature gets too high, you may try to create an ideal environment for the vegetables to ferment properly. For example, I once placed them in a cooler when the room temperature was 90 °F!
The fermentation process cultivates lactic acid bacteria. You might have heard that they help with digestion. But their contributions are way more than that.
When you consume fermented vegetables, these bacteria become the temporary passengers that visit the body, stay for a while, and then exit. During the short period of their stay, they contribute a lot to strengthen the body’s immune system. Your body might mistreat them as pathogens and activate defense systems that would normally be turned off against harmful bacteria.
On your intestinal wall, there is a special protein to seal the space between cells to create a barrier to keep pathogens or undigested foods from unexpectedly traveling into the body. The temporary microbial visitors can stimulate the wall to reduce more protein to create a sturdier gut barrier.
More mucus is also produced on the intestinal wall to strengthen the protection from invaders. There is a group of protective agents called defensins to fight against invading bacteria, viruses, and fungi.
**I learned about the above benefits from The Good Gut by Erica Sonnenburg and Justin Sonnenburg, which I could not put down once I started reading it!**
Ideally, you will use organic red cabbage for your kitchen experiment. The pesticides used in non-organic cabbage may kill the bacteria cultivated in the process. If your cabbage is not organic, consider peel off the outer layer first.
Avoid using refined salt with added iodine, because it may inhibit fermentation and cause a discolored product, another tip I learned from Fermented Vegetables.
As you see, making fermented vegetables turns out to be more than just another fun kitchen experiment. It may be a way to improve your gut health and immunity. In fact, introducing friendly microbes to the body is so important that I consider it as a daily habit.
A lot of people I talked to thought that the process of making fermented veggies is complicated. In fact, it is not the case at all. It is easy to make and they can be ready in just a few days.
I hope you have fun making your first batch!

Fermented Red Cabbage
Yields ½ pint
Time
Equipment
Ingredients
Instructions
Serving suggestions
Storage
Notes
“Fermentation is easy and exciting. Anyone can do it.”
Want to learn how fermented vegetables can improve your health, skin, and mood, along with how to make other fermented goodies? Check out my new book.
So, you are making this? Tag your artwork with #mindfulECL (short for "mindful eating, cooking, and living") on Instagram. I'd love to check it out!
Know someone who is looking for healthy recipes? Simply share this post with your friend.
Never want to miss a recipe? Join the newsletter and stay in touch. You'll also get my bonus gift -- my Health Manifesto -- to learn more about proper eating, cooking, and living.


